

How It Works
- Setup: you create a setup link for the customer, from the API, the dashboard or the customer portal. The customer opens it, picks their bank, and authorises the mandate.
- Confirmation: the bank confirms the mandate. Until then the payment method shows Awaiting bank confirmation and can’t be charged.
- Charging: an invoice can be charged against an active mandate automatically, or from Record payment → Charge saved method in the dashboard.
- Processing: an eNACH debit takes up to 2 working days to settle. Meanwhile the payment is
PROCESSINGand the invoice shows Processing · eNACH mandate. The invoice can’t be charged again or voided until the debit settles. - Result: when the bank answers, the payment becomes
SUCCEEDEDorFAILED. A failed debit is not retried. Flexprice records the bank’s reason and sendsinvoice.payment.failed.

Prerequisites
- A Razorpay connection.
- An email and a phone number (
contact) on the customer. Razorpay requires both for the mandate and for every debit. - These Razorpay webhook events enabled on your Flexprice endpoint:
token.confirmed,token.rejected,token.cancelled,payment.authorized,payment.captured,payment.failedandinvoice.expired. See Razorpay Setup.
Setting Up a Mandate
From the API
Create a setup intent withprovider: razorpay. max_amount is the largest single debit the mandate allows, in rupees.
The response has a
checkout_url to send the customer and a setup_intent_id. Use the setup_intent_id to check the link (GET /v1/payments/customers/{id}/setup/intent) or cancel it (POST /v1/payments/customers/{id}/setup/intent/cancel). Creating a new link for the same customer cancels the previous one.
From the dashboard
Open the customer and choose Customer actions → Add payment method. Pick Razorpay, then set an optional maximum debit.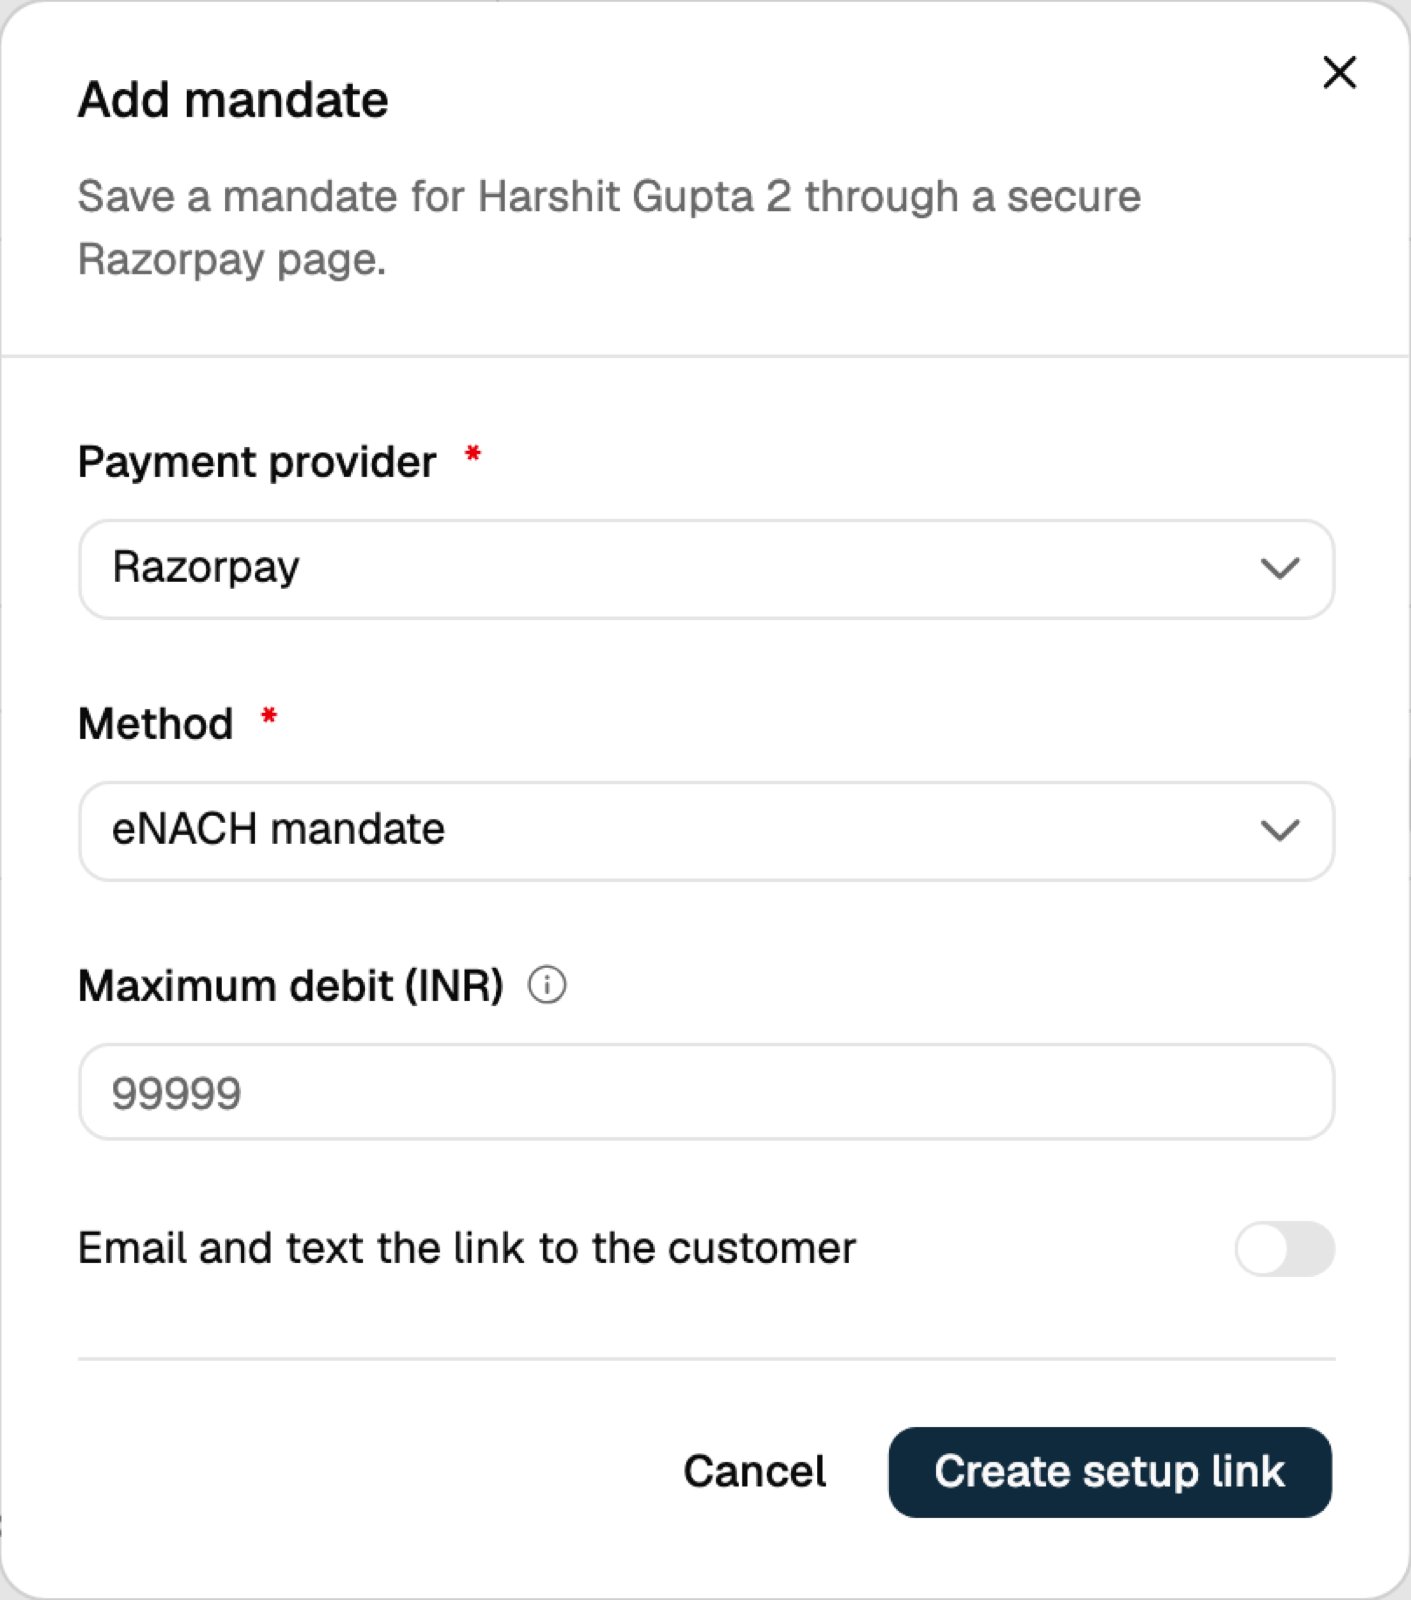
From the customer portal
Customers can add a mandate themselves under Payment methods → Add payment method. The portal lists each mandate with its bank, state and per-debit limit.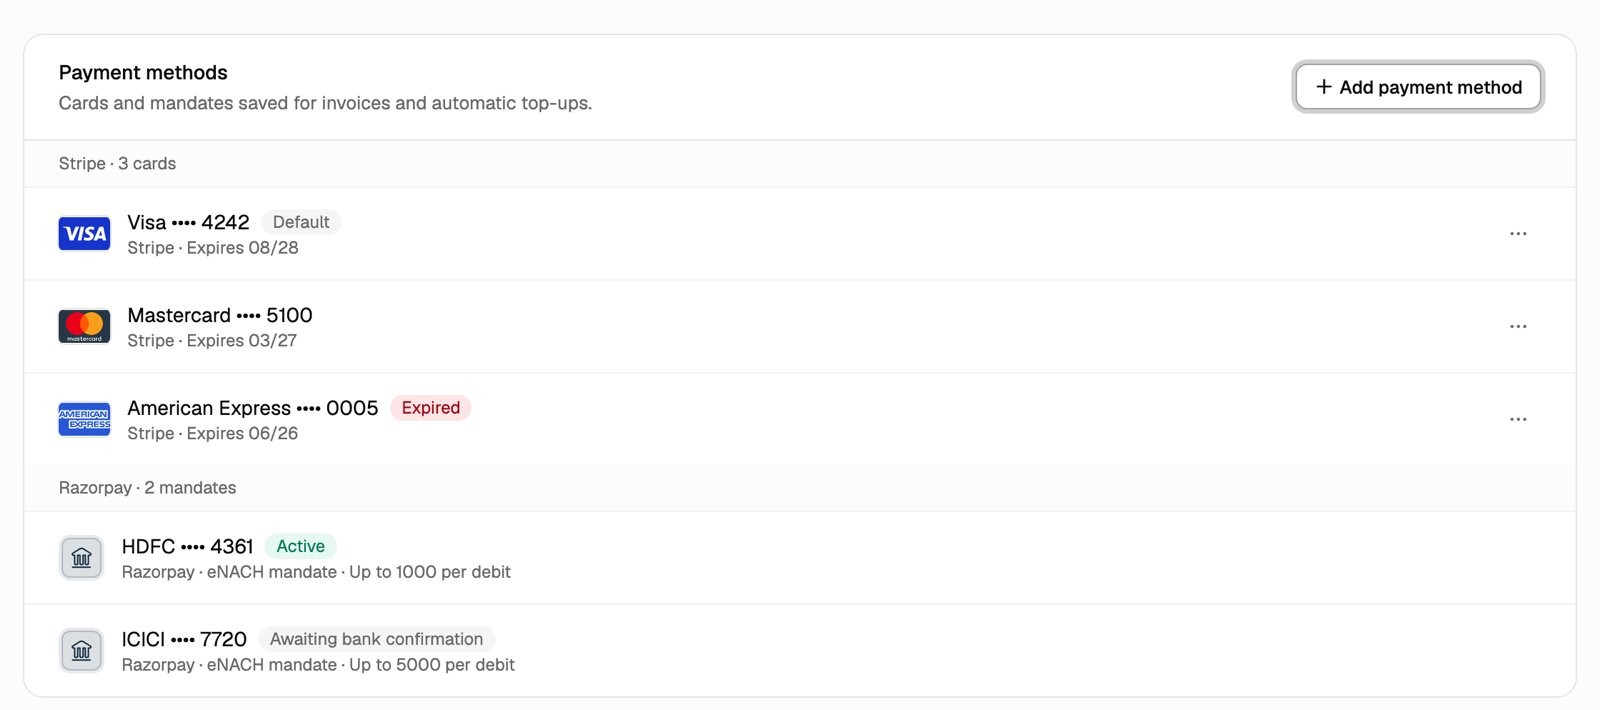
Charging a Mandate
Invoices on a subscription set to charge automatically are charged when they finalise. Flexprice tries saved Razorpay methods in this order: card, UPI, then eNACH, because eNACH settles slowest. A mandate is used only if itsmax_amount covers the invoice.
To charge a specific mandate, use Record payment → Charge saved method in the dashboard, or create a payment with payment_method_type: ENACH and the mandate’s ID as payment_method_id. List a customer’s saved methods with GET /v1/customers/{id}/payment-methods.
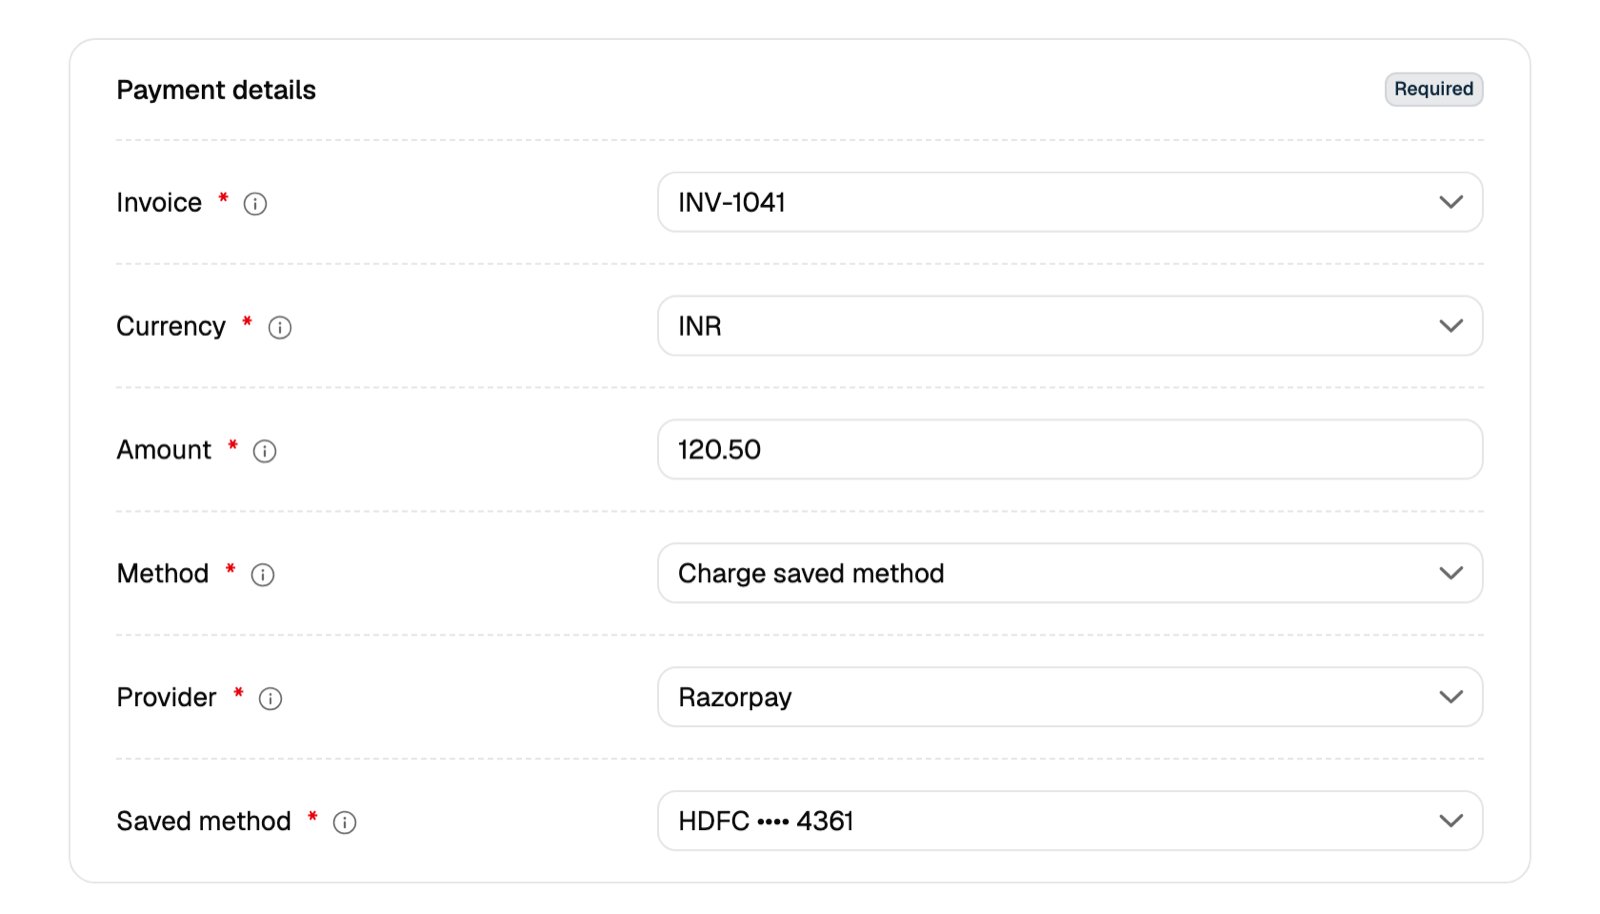
submitted_for_processing: true and can’t be processed again.
Webhooks
Flexprice also checks unsettled debits with Razorpay every hour, so a missed Razorpay webhook doesn’t leave a payment stuck.
Limitations
- Settlement time: debits submitted before 9 AM on a bank working day are processed the same day, and they can take up to 2 working days to settle.
- One attempt: failed debits are not retried. Follow up with a payment link or ask for a new mandate. Razorpay advises waiting at least 3 days before debiting again after a failure.
- Bank limits: HDFC netbanking mandates are capped at ₹1 lakh, whatever
max_amountyou set. The customer’s own account limits can also fail a debit. - No editing: a mandate’s limit or bank account can’t be changed. The customer approves a new mandate instead.
- No redirect: the Razorpay setup page doesn’t return the customer to your site. Watch for
mandate.confirmed. - Test mode settles instantly. Try a small live debit before relying on live timings.
Autopay & Mandates
UPI Autopay and card mandates collected at checkout.
Razorpay Setup
Connect Razorpay and enable the webhook events.