

Overview
Payment links in Flexprice provide a secure, hosted checkout experience powered by Razorpay. Customers click a payment URL and are redirected to Razorpay’s secure checkout page to complete their payment.Key Features
- Secure Checkout: Hosted by Razorpay with PCI compliance
- Multiple Payment Methods: Cards, UPI, netbanking, wallets, and more
- Real-time Updates: Webhook-driven status updates
- Invoice Integration: Automatic invoice reconciliation
- Auto-generated Links: Razorpay automatically generates payment link URLs
Payment Link Lifecycle
Payment Status Flow
Status Transitions
Status Definitions
Creating Payment Links
Prerequisites
- Razorpay Connection: Active Razorpay connection configured
- Customer Sync: Customer must have Razorpay customer ID
- Invoice Status: Invoice must be finalized and unpaid
- Valid Amount: Payment amount must match invoice outstanding
- Currency Minimums: Ensure amounts meet Razorpay minimums
Currency Minimum Amounts
Razorpay requires minimum amounts in the smallest currency subunit:
Important: Amounts are automatically converted to smallest currency units (paise for INR, cents for USD) when creating payment links.
API Request
Endpoint:POST /api/v1/payments
Headers:
Response
payment_url is automatically generated by Razorpay and returned as a short URL (e.g., https://rzp.io/i/abc123).
Creating Payment Links via Dashboard
You can also create payment links directly from the Flexprice dashboard: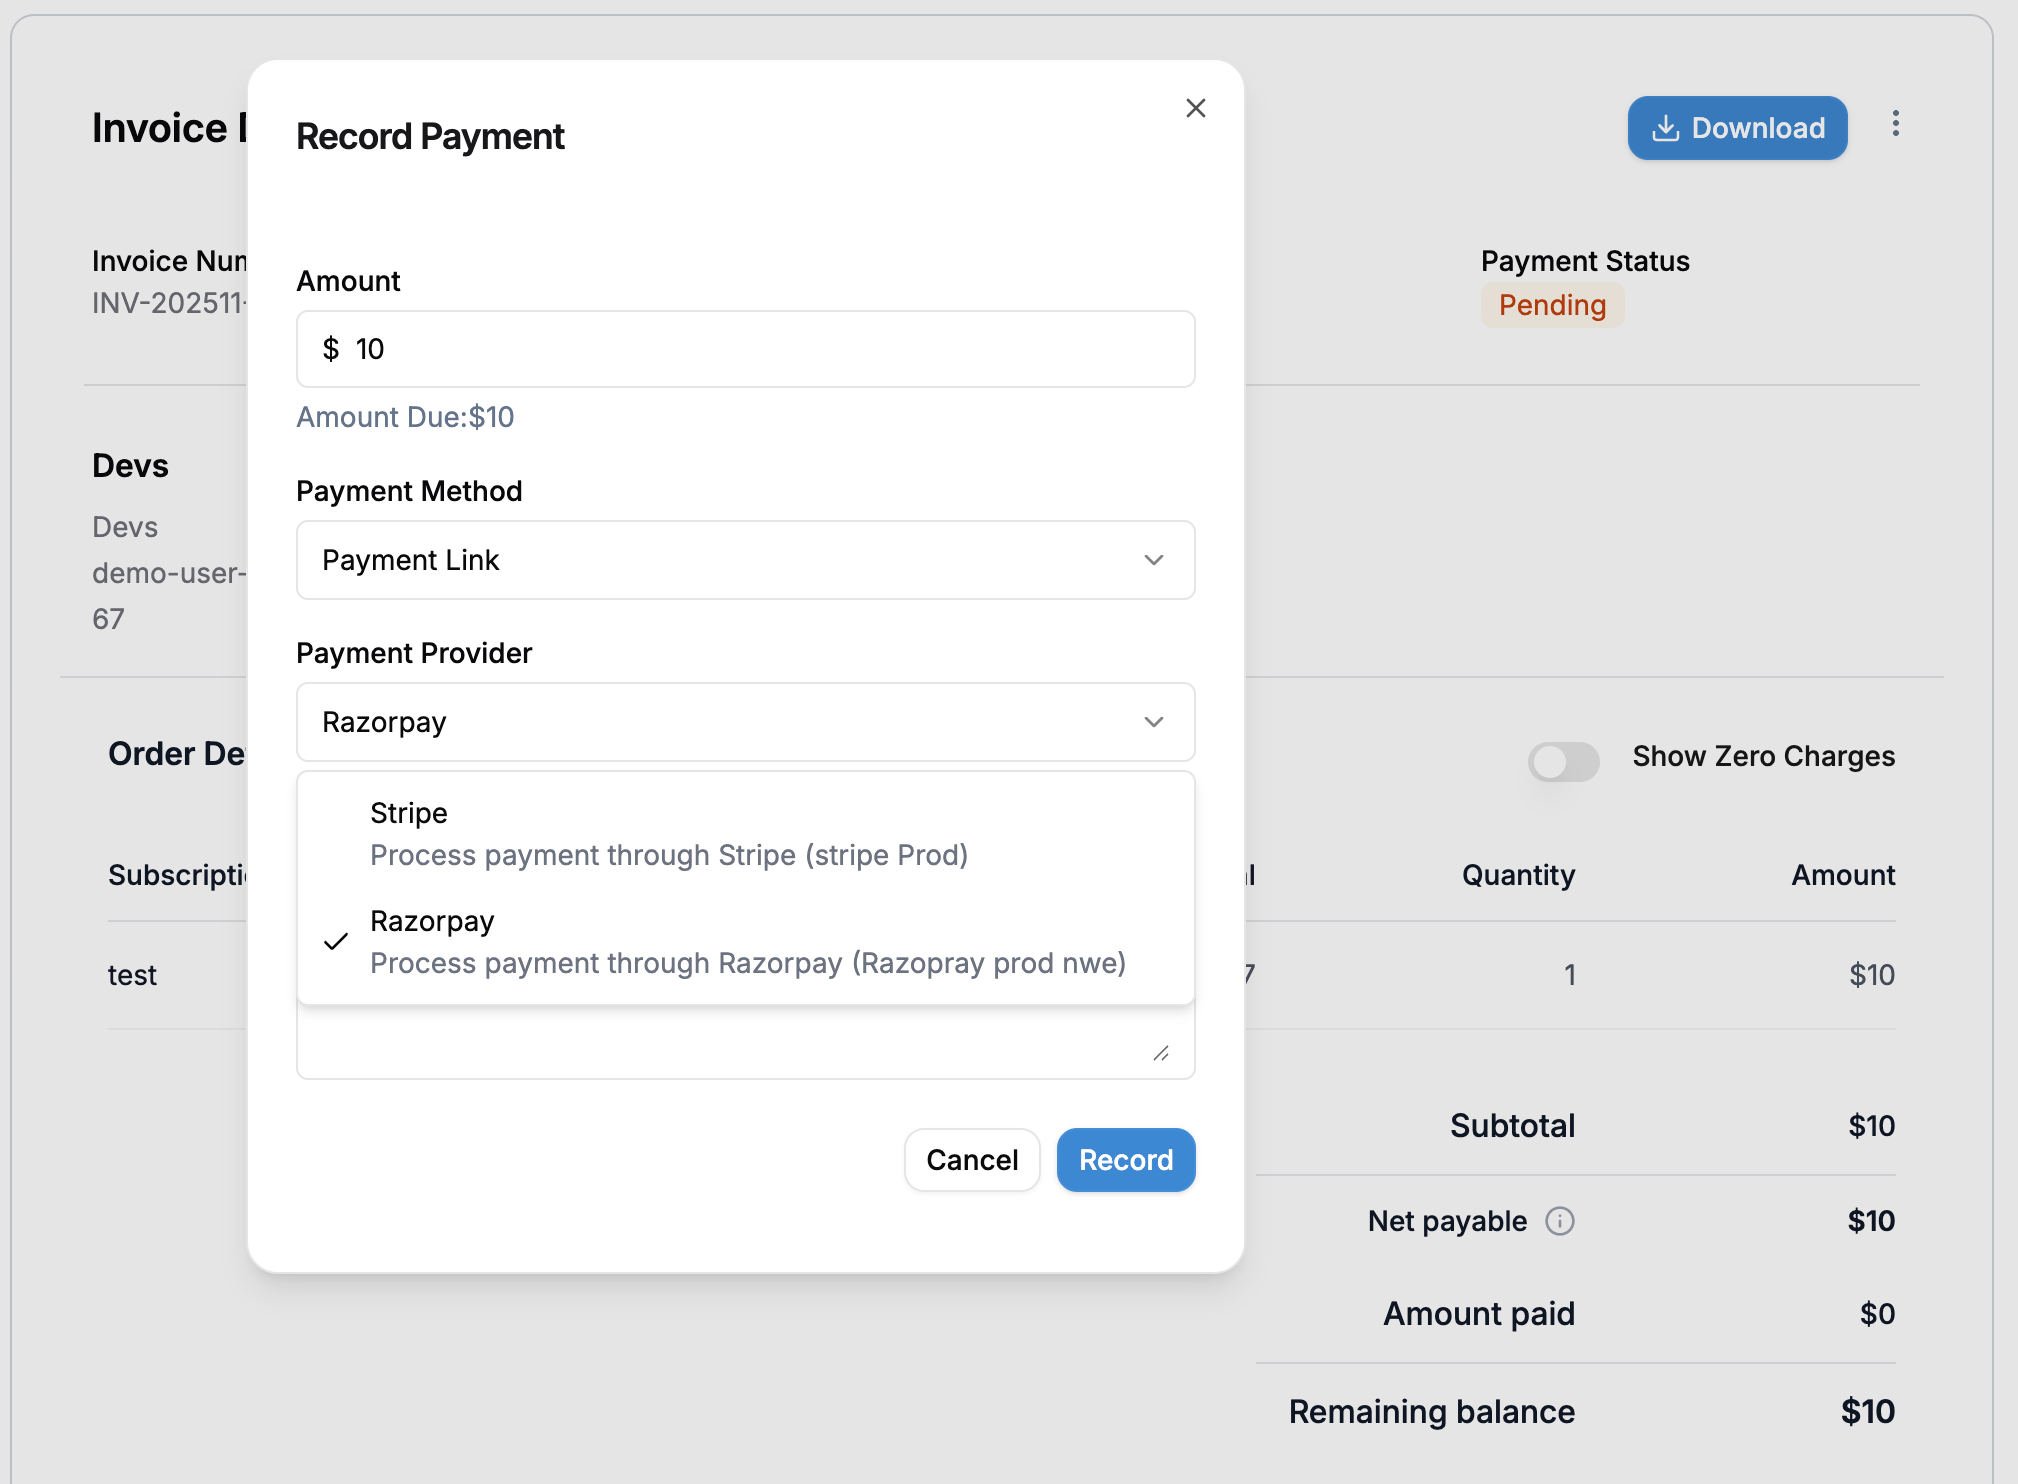
Payment Link Configuration
Required Fields
Razorpay Payment Link Configuration
Default Payment Link Settings
When creating payment links, Flexprice automatically configures Razorpay with:- Payment Methods: Cards, UPI, netbanking, wallets, and more
- Currency: Matches the payment currency
- Amount: Exact payment amount (converted to smallest unit)
- Customer: Pre-filled with customer data
- Description: Invoice details and line items
- Notifications: Email and SMS notifications enabled
- Reminders: Payment reminders enabled
Callback URL
Razorpay uses a singlecallback_url for both successful and cancelled payments:
- Success: Customer is redirected to
callback_urlwith payment details - Cancel: Customer is redirected to
callback_urlwith cancellation status - Method: Only GET method is supported for payment links
Webhook Processing
Payment Completion Webhook
When a payment is completed, Razorpay sends apayment.captured webhook:
Webhook Processing Flow
- Receive Webhook: Flexprice receives the webhook from Razorpay
- Verify Signature: Validate webhook signature for security
- Find Payment: Locate payment record using payment ID from notes
- Update Status: Change payment status to
SUCCEEDED - Reconcile Invoice: Update invoice payment status and amounts
- Trigger Events: Send payment completion events
Error Handling
Common Payment Errors
Payment Failure Handling
When payments fail:- Webhook Received: Razorpay sends
payment.failedwebhook - Status Updated: Payment status changed to
FAILED - Error Logged: Failure reason recorded
- Customer Notified: Optional failure notification
- Retry Available: Customer can create new payment link
Testing Payment Links
Test Environment Setup
- Use Test Keys: Configure Razorpay test mode
- Test Cards: Use Razorpay’s test card numbers
- Test Webhooks: Use ngrok for local webhook testing
Test Card Numbers
Test Cards for Indian Payments
Test Cards for International Payments
Test UPI IDs
To use the test UPI ID details:
- At the Checkout, select UPI as the payment method
- Enter the UPI ID
- Test payment success flow using
success@razorpay - Test payment failure flow using
failure@razorpay
Testing Flow
- Create Test Payment: Use test invoice and customer
- Generate Payment Link: Create payment with test data
- Complete Payment:
- Use test card numbers listed above in Razorpay checkout
- Or use test UPI ID
success@razorpayfor UPI payments
- Verify Webhook: Check webhook processing
- Confirm Status: Verify payment and invoice updates
Invoice Integration
Payment Links from Synced Invoices
When an invoice is synced to Razorpay:- Invoice Sync: Invoice is created in Razorpay with payment URL
- Payment Link Reuse: If payment link is requested for synced invoice, the existing Razorpay invoice payment URL is returned
- Automatic Association: Payments made through the URL are automatically associated with the invoice
Invoice Sync Timing
Invoices are automatically synced to Razorpay when:- Invoice is finalized (status changes from
DRAFTtoFINALIZED) - Invoice outbound sync is enabled in the Razorpay connection
- Customer is successfully synced to Razorpay
Security Considerations
Payment Link Security
- HTTPS Required: All payment links use HTTPS
- Link Expiry: Links expire based on Razorpay settings
- One-time Use: Each link can only be used once
- Signature Verification: All webhooks verified
Data Protection
- PCI Compliance: Razorpay handles sensitive payment data
- No Card Storage: Card details never stored in Flexprice
- Encrypted Storage: All payment data encrypted at rest
- Access Controls: Role-based access to payment data
Webhook Endpoints
POST /api/v1/webhooks/razorpay/{tenant_id}/{environment_id}- Razorpay webhook handler